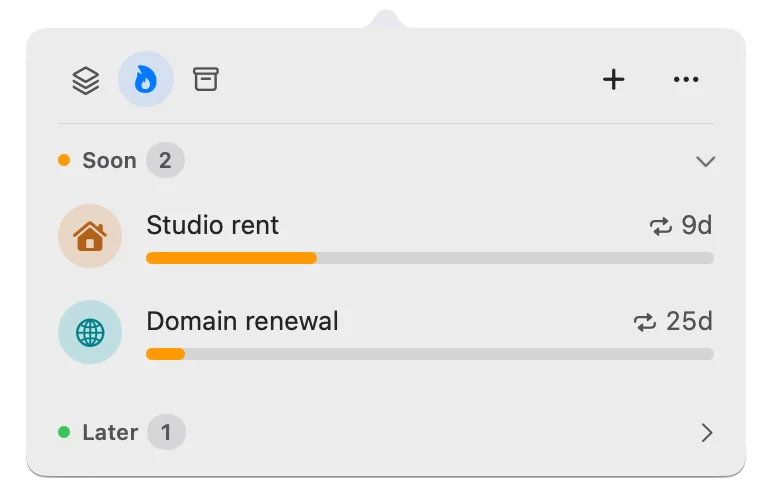
Move Deadline Bar to a new Mac: export, import, restore Pro
Moving to a new Mac? Export a file, import it, and restore Pro. What moves, what stays behind, and why Deadline Bar doesn’t sync between Macs.
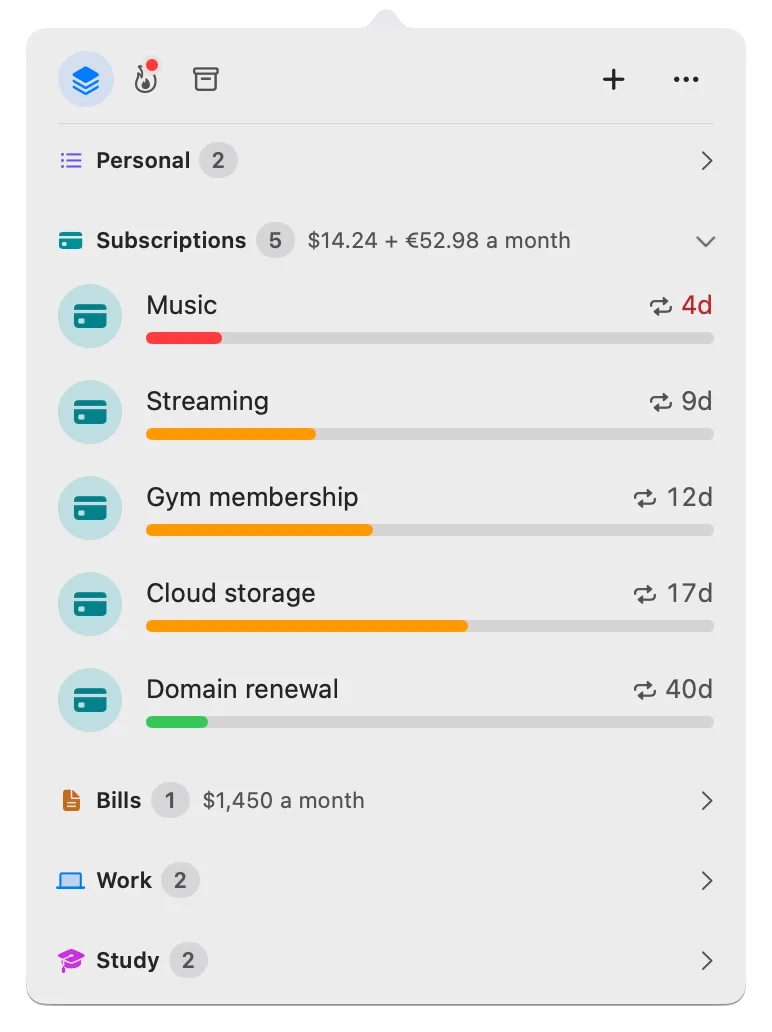
You have a new Mac and want your deadlines on it. Export a file from Deadline Bar on the old Mac and import it on the new one. If you have Pro, the paid upgrade, restore it first with the same Apple Account. It takes a few minutes, and nothing is uploaded anywhere.
Deadline Bar is a Mac app that keeps your deadlines in the menu bar at the top of your screen. It stores everything on your Mac and doesn’t sync between Macs, which is why moving takes a file. This guide is for anyone switching Macs, on the free version or Pro.
Before you start
If you used Migration Assistant or Time Machine
Deadline Bar keeps its deadlines in its own folder inside your user account’s Library, as every App Store app does. Apple’s Migration Assistant moves “documents, apps, user accounts, and settings” from one Mac to another, and it can also restore from a Time Machine backup of the old Mac. So if you moved your whole account that way, open Deadline Bar on the new Mac first: your deadlines may already be there.
K68 Studio can’t promise that every migration carries them, so export a file on the old Mac either way. It takes a minute, gives you a copy you can keep, and is the only way if you set up the new Mac from scratch.
What moves, and what stays behind
| What | In the file? | On the new Mac |
|---|---|---|
| Deadlines, including those with a later start date | Yes | With their dates, repeat, reminder, priority, notes, and group |
| Groups, your own and the built-in ones | Yes | Built-in groups merge with the new Mac’s own, so there’s one of each |
| Completed history | Yes | Merged with any history already there |
| Focus time worked | No | Starts from zero |
| Settings: theme, notifications, shortcuts, sort order | No | Set them again |
| Recently Deleted | No | Starts empty |
| Reminders and Calendar items shown in your list (Pro) | No | Turn them on again, and they’re read fresh |
| Pro | No | Restored from your Apple Account |
Completed history is your list of finished deadlines. Share My Month (a picture of your month you can share) and Pro’s medals are built from it, so it’s worth bringing. The Focus time that Share My Month shows isn’t in the file and starts again from zero on the new Mac.
Move your deadlines
- If you have Pro, restore it on the new Mac first. Sign in to the App Store with the Apple Account you bought Pro with, install Deadline Bar from the Mac App Store, and open it. Pro usually turns on by itself. If it doesn’t, click the menu bar item, click ⋯, choose Settings…, open About, and click Restore Purchases.
- On the old Mac, click the menu bar item, click ⋯, and choose Settings….
- In General, find Data. Next to Deadlines and groups, click Export… and save the file. It’s named after the day, like “Deadline Bar 2026-10-07.json,” and a note under the buttons says how many deadlines it saved. That count includes any items from Reminders and Calendar, which the file itself leaves out.
- Copy the file to the new Mac with AirDrop, a USB drive, or a shared folder.
- On the new Mac, open Settings… → General → Data, click Import…, and choose the file. A note says how many deadlines came in.
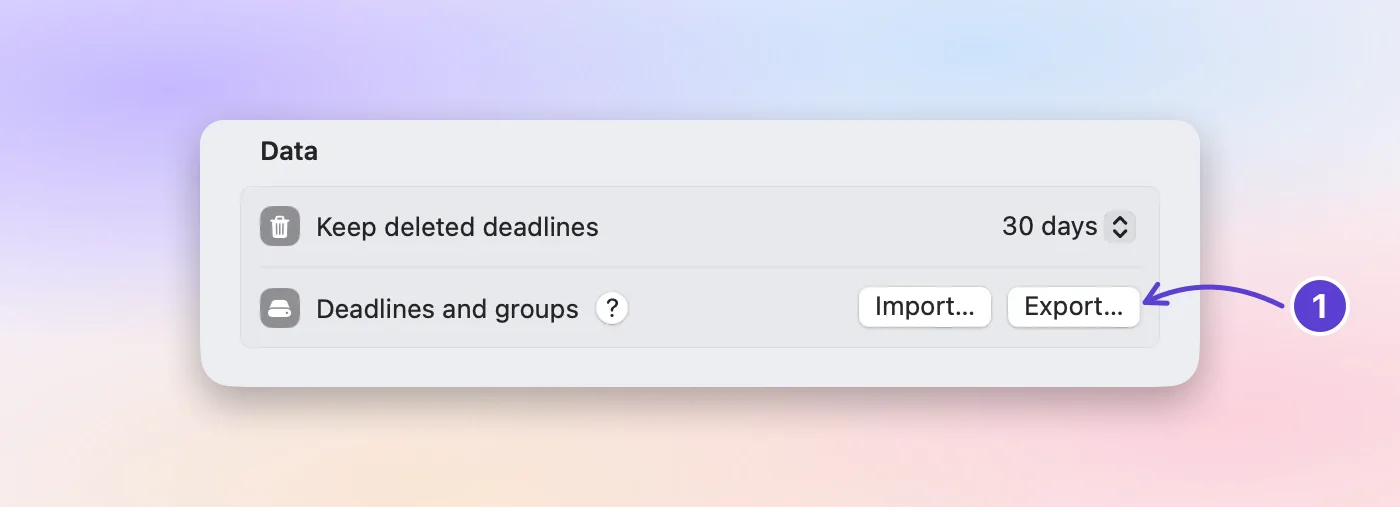
- Export… on the old Mac, Import… on the new one
If the new Mac already has deadlines that the file would change, Deadline Bar asks first. The alert names the backup’s day (such as “Import the Backup from Oct 7?”), says how many deadlines on this Mac would go back to the file’s version, and waits for Import or Cancel. An import can’t be undone.
On the free version, an import fills the free places (five unfinished deadlines in all, counting what’s already on the new Mac) in the order the file lists them, and the note says how many more come with Pro. That’s why step 1 restores Pro first. Deadlines set to start later keep their start dates; the start dates guide explains them. Groups of your own stay locked until Pro is back, and their deadlines show under Personal, the group for deadlines without one.
Check that it worked
- Open the panel (the list that opens when you click the menu bar item). Up Next, its main tab, lists your deadlines, most urgent first. The menu bar counts down to the top one.
- The Groups tab has each group once.
- Scheduled & History shows later starts under Scheduled and your finished deadlines under Completed.
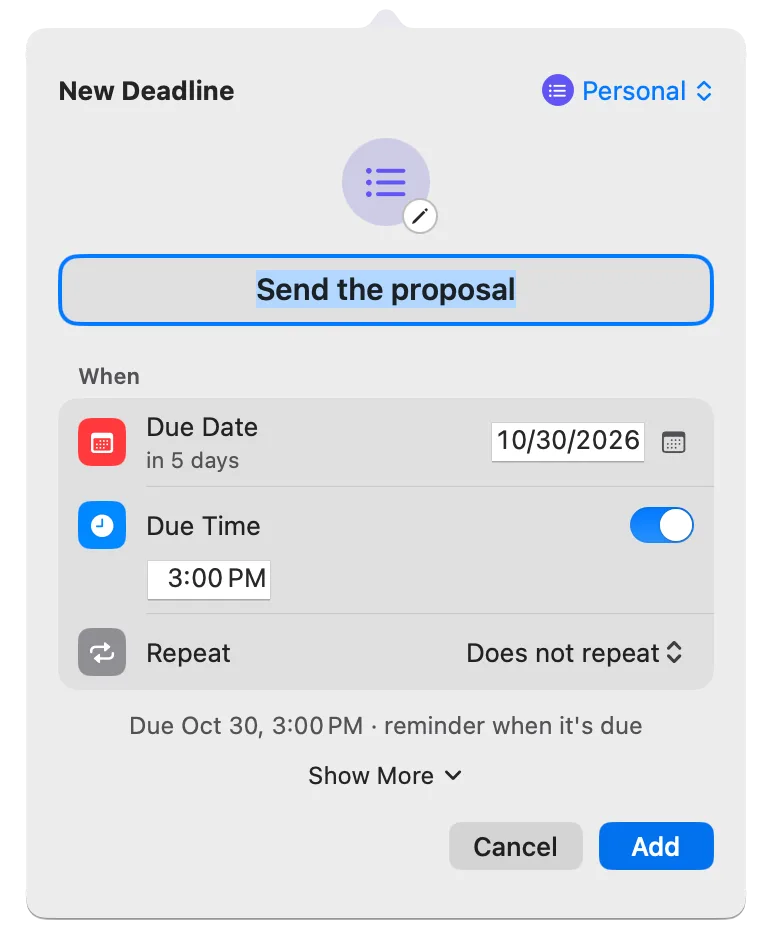
- In Settings, set your theme, notifications, and shortcuts again. Quick Add, the small window for a new deadline, opens with Control-Option-D (Control-Option-D⌃⌥D) unless you change it.
- If you used Reminders and Calendar in your list, turn them on again in General → Reminders & Calendar and allow access. The Reminders and Calendar guide has the steps.
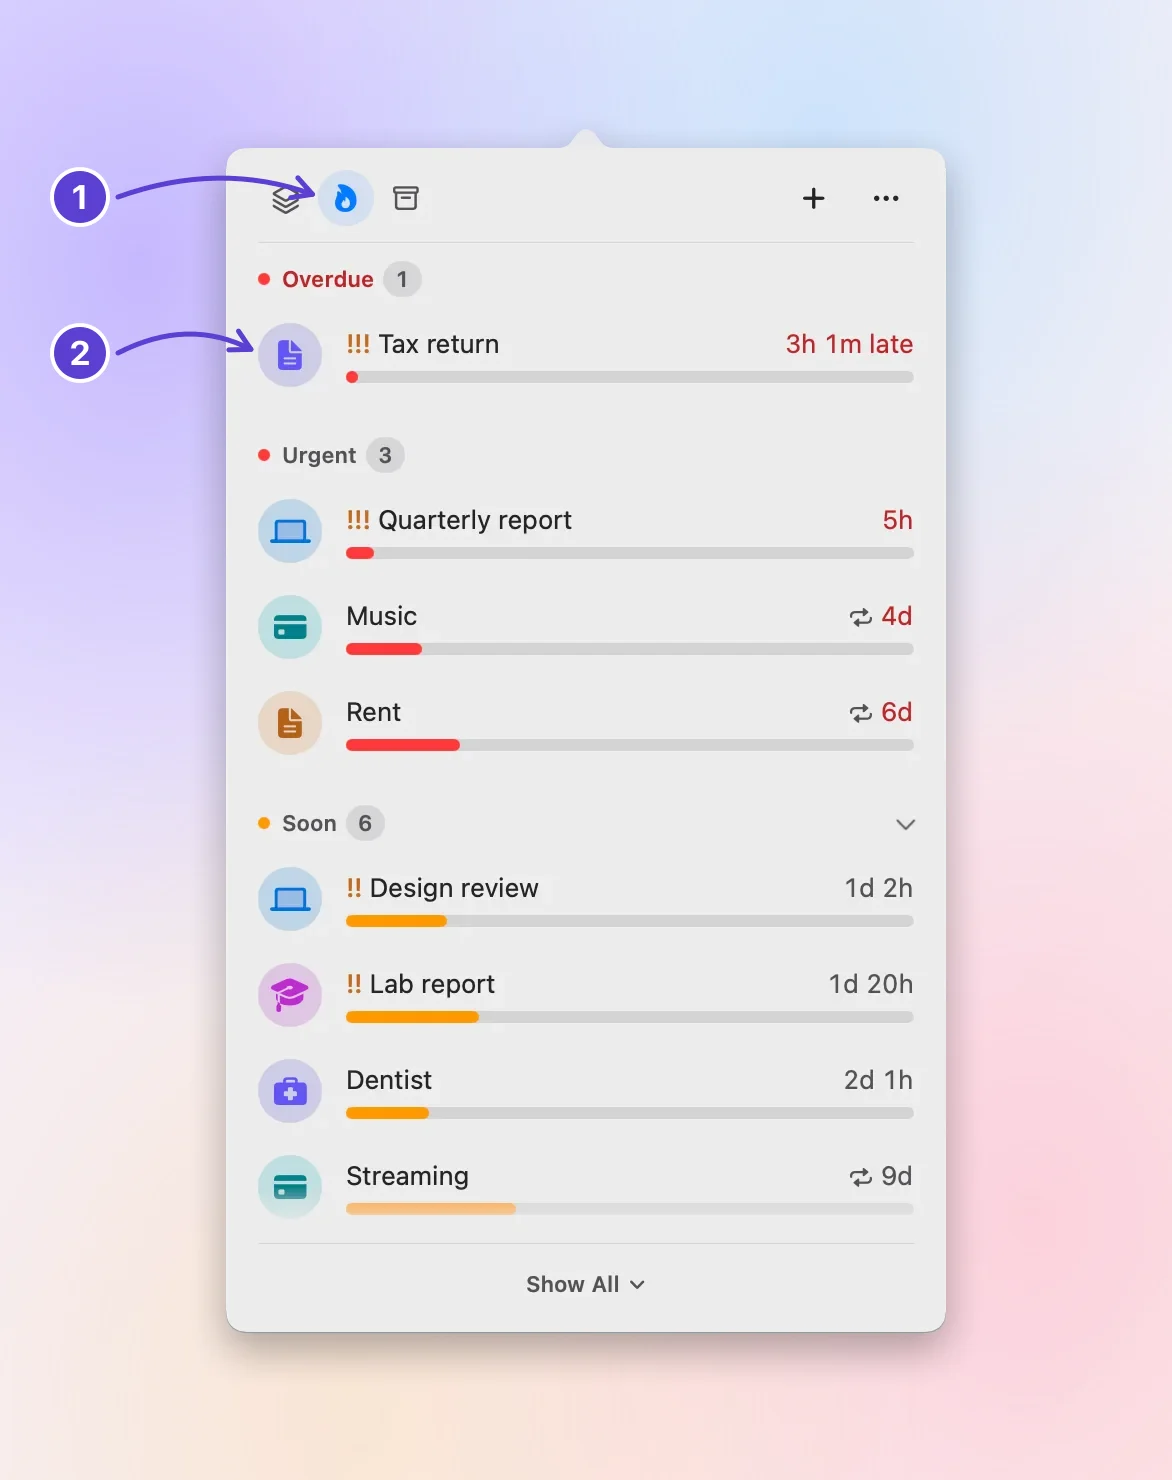
- Up Next, the middle tab
- Most urgent on top
The sample deadlines Deadline Bar adds the first time it opens stay until you delete them. They don’t count toward the free version’s five.
Once everything is there, keep the export file until you’re sure nothing is missing. If you erase or give away the old Mac, that file is the only copy left.
If you keep using both Macs
Export and Import copy your deadlines once; after that, the two Macs are separate. Treat one as the Mac where your deadlines live. When you switch, export from the Mac you used last and import on the other before changing anything there. An import doesn’t combine edits: if a deadline is on both Macs, the file’s copy replaces this Mac’s in full. For example, if you edit a deadline on your laptop on Monday and then import Sunday’s export from your desktop, the laptop’s edit is gone.
If something’s off
- “That file isn’t a Deadline Bar export”: choose the .json file you saved with Export….
- “This File Is Too Large to Import”: Import reads files up to 10 MB, and a backup is usually a few kilobytes. Check that it’s the file you exported; if it is, write to support.
- “More come with Pro”: you imported on the free version. Restore Pro, then import the same file again; deadlines already imported are matched, not doubled.
- An old version came back: the file’s version replaced a newer edit made on this Mac. Fix it by hand, or import a newer export.
- A deadline you deleted came back: Import brings back anything in the file that isn’t on this Mac, including one you deleted after exporting. Delete it again.
An import keeps two kinds of progress made on this Mac: a deadline you finished here after the export stays finished, and a repeating one keeps its next date here. Deadlines that are only on this Mac are never removed.
Free or Pro
Export and Import work the same in the free version and in Pro. Only what the free version doesn’t have waits for Pro: more than five unfinished deadlines, and groups of your own. Pro itself isn’t in the file; it moves with your Apple Account through Restore Purchases.
What to do next
Once your deadlines are on the new Mac, turn on Open at login in Settings → General, so Deadline Bar is in the menu bar after every restart. If you can’t see its item, the menu bar countdown guide lists the fixes. New to the app? Read getting started.
Trademarks belong to their owners; Deadline Bar isn’t affiliated with them.
Export your deadlines
See your deadlines in your Mac’s menu bar, colored green to red as time runs out, and choose what to do next.

Read next
Get started with Deadline Bar: add your first Mac deadline
Press Control-Option-D, give your first deadline a day and a time, and watch it count down in the menu bar. Then set a reminder, finish it, and see what’s free.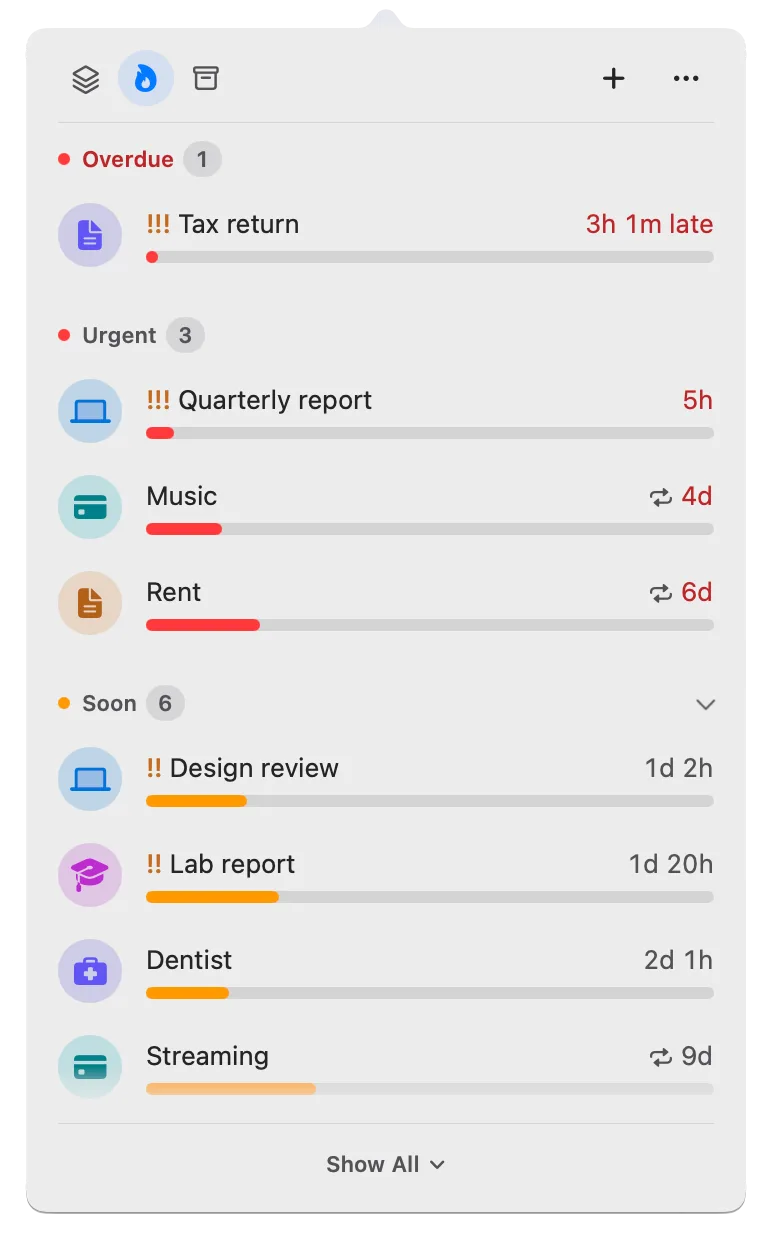
See Reminders and Calendar deadlines in one list (Pro)
Show dated Apple reminders and chosen calendar events in Deadline Bar’s list, sorted by urgency with your own deadlines. Setup, editing limits, and Done.